Build a CI Workflow
CI workflows often start simple, but eventually transform into a labyrinth of artisanal shell scripts and/or unmanageable YAML code. Dagger lets you replace those artisanal scripts and YAML with a modern API and cross-language scripting engine.
This quickstart will guide you through building a CI workflow for an application using Dagger.
Requirements
This quickstart will take you approximately 10 minutes to complete. You should be familiar with programming in Go, Python, TypeScript, PHP, or Java.
Before beginning, ensure that:
- you have installed the Dagger CLI.
- you know the basics of Dagger.
- you have Git and a container runtime installed on your system and running. This can be Docker, Podman, nerdctl, Apple Container, or other Docker-like systems.
- you have a GitHub account (optional, only if configuring Dagger Cloud)
Dagger SDKs generate native code-bindings for all dependencies from the Dagger API. If you're using an IDE, this gives you automatic type-checking, code completion and other key features when developing Dagger Functions. Setting up your IDE to work with Dagger is a highly recommended step to improve your experience and benefit from Dagger's universal type system.
Get the example application
The example application is a skeleton Vue framework application that returns a "Hello from Dagger!" welcome page. Create a Github repository from the hello-dagger-template and set it as the current working directory:
In the GitHub UI:
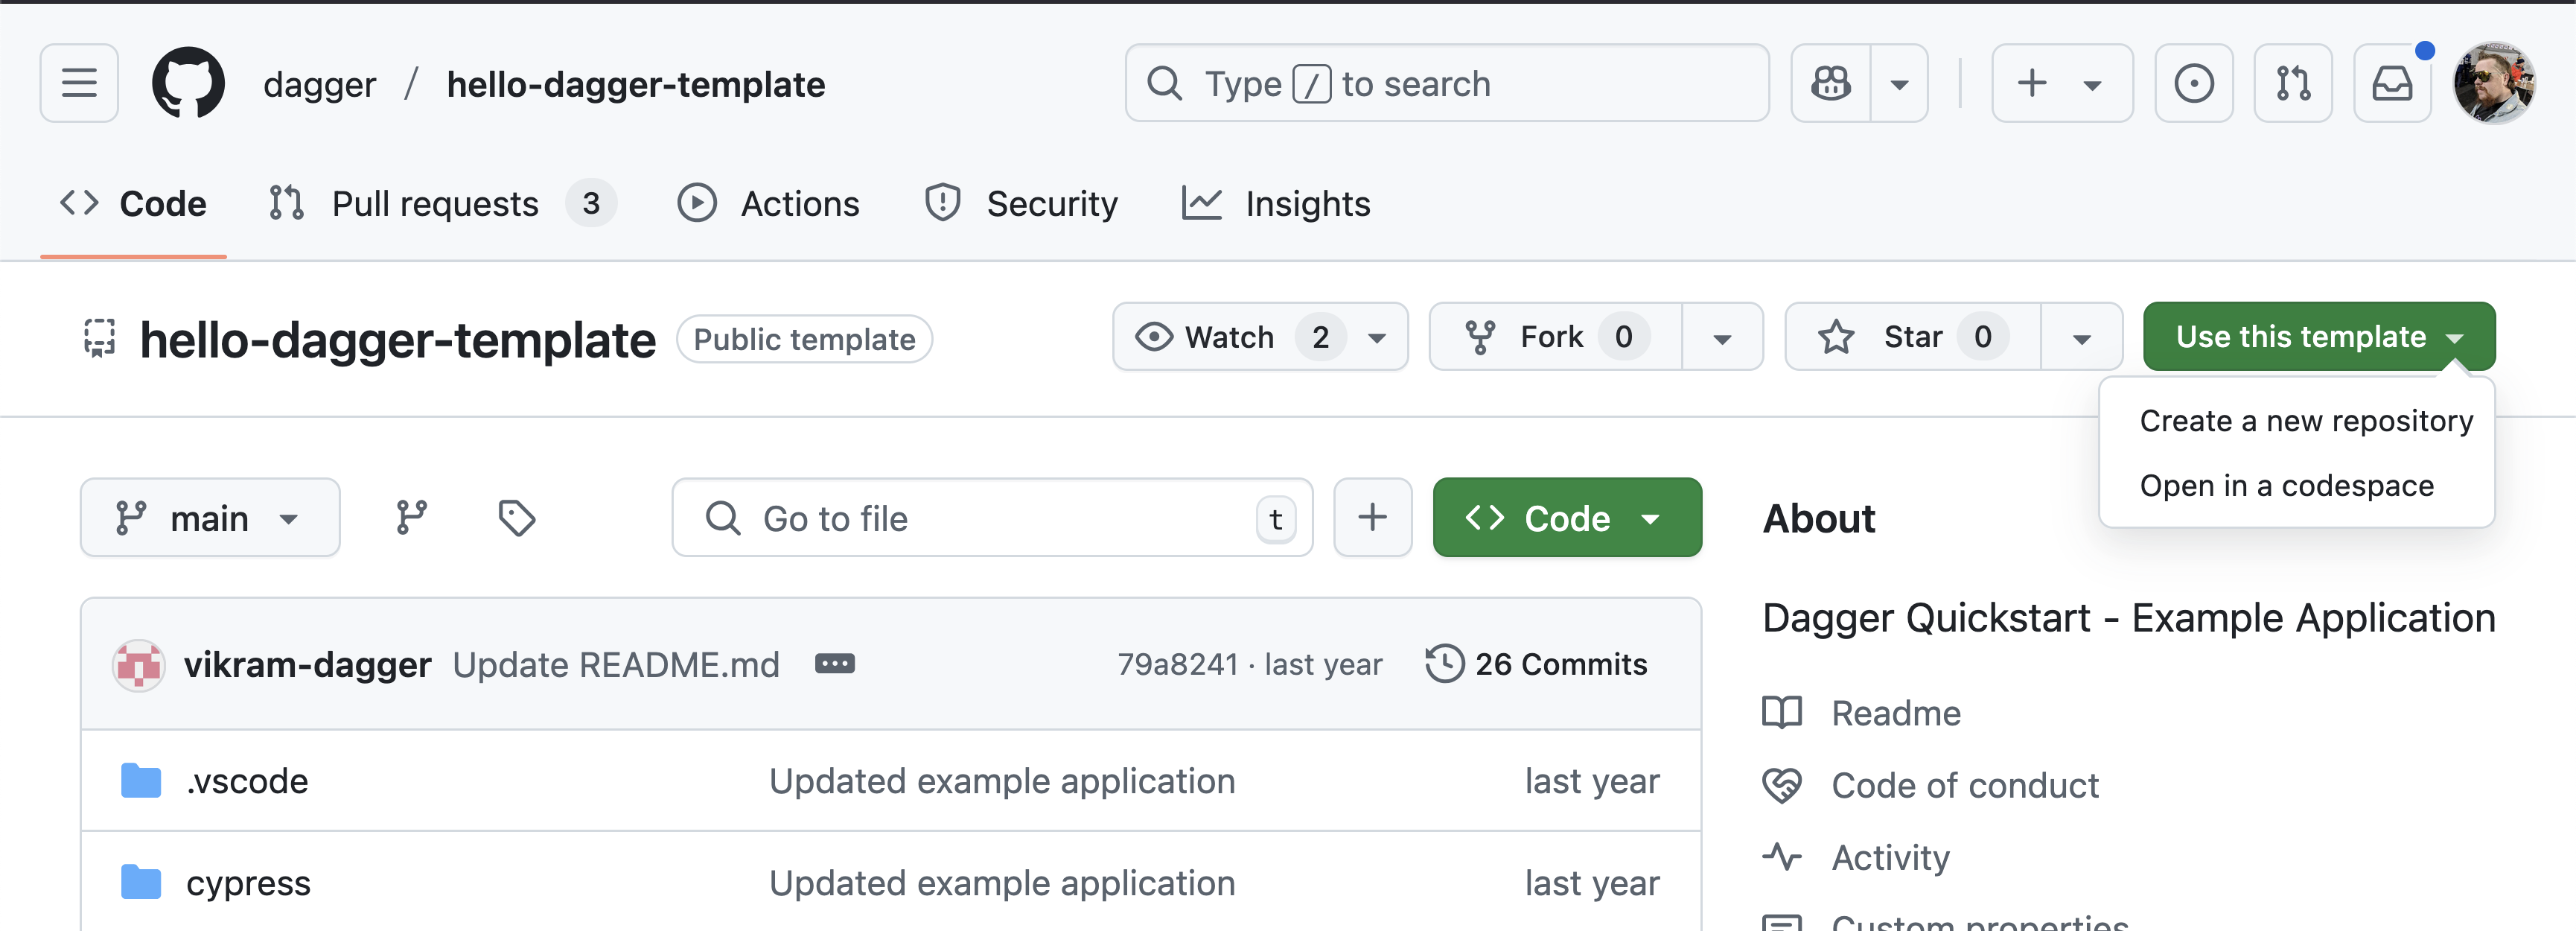
Clone your new repoistory and set it as the current working directory.
Or with the gh CLI:
gh repo create hello-dagger --template dagger/hello-dagger-template --public --clone
cd hello-dagger
Configure Dagger Cloud (optional)
This step is optional and will create a Dagger Cloud account, which is free of charge for a single user. If you prefer not to sign up for Dagger Cloud, you can skip this section.
Dagger Cloud is an online visualization tool for Dagger workflows. It provides a web interface to visualize each step of your workflow, drill down to detailed logs, understand how long operations took to run, and whether operations were cached.
Create a new Dagger Cloud account by running dagger login:
dagger login
The Dagger CLI will invite you to authenticate your device by displaying a link containing a unique key. Click the link in your browser, and verify that you see the same key in the Dagger Cloud Web interface.
$ dagger login
Browser opened to: https://auth.dagger.cloud/activate?user_code=FCNP-SRLM
Confirmation code: FCNP-SRLM
Once you confirm your authentication code, your Dagger CLI will be authenticated and you will get redirected to your newly created Dagger Cloud organization.
After successfully creating your organization, all future Dagger workflows can be inspected in Dagger Cloud.
Initialize a Dagger module
Bootstrap a new Dagger module in Go, Python, TypeScript, PHP, or Java by running dagger init in the application's root directory.
- Go
- Python
- TypeScript
- PHP
- Java
dagger init --sdk=go --name=hello-dagger
dagger init --sdk=python --name=hello-dagger
dagger init --sdk=typescript --name=hello-dagger
dagger init --sdk=php --name=hello-dagger
dagger init --sdk=java --name=hello-dagger
This will generate a dagger.json module metadata file and a .dagger directory containing some boilerplate Dagger Functions as examples.
To see the generated Dagger Functions, run:
dagger functions
You should see information about two auto-generated Dagger Functions: container-echo and grep-dir.
Construct a workflow
Replace the generated Dagger module files as described below.
- Go
- Python
- TypeScript
- PHP
- Java
Replace the generated .dagger/main.go file with the following code, which adds four Dagger Functions to your Dagger module:
package main

import (
	"context"
	"fmt"
	"math"
	"math/rand"

	"dagger/hello-dagger/internal/dagger"
)

type HelloDagger struct{}

// Publish the application container after building and testing it on-the-fly
func (m *HelloDagger) Publish(
	ctx context.Context,
	// +defaultPath="/"
	source *dagger.Directory,
) (string, error) {
	_, err := m.Test(ctx, source)
	if err != nil {
		return "", err
	}
	return m.Build(source).
		Publish(ctx, fmt.Sprintf("ttl.sh/hello-dagger-%.0f", math.Floor(rand.Float64()*10000000))) //#nosec
}

// Build the application container
func (m *HelloDagger) Build(
	// +defaultPath="/"
	source *dagger.Directory,
) *dagger.Container {
	build := m.BuildEnv(source).
		WithExec([]string{"npm", "run", "build"}).
		Directory("./dist")
	return dag.Container().From("nginx:1.25-alpine").
		WithDirectory("/usr/share/nginx/html", build).
		WithExposedPort(80)
}

// Return the result of running unit tests
func (m *HelloDagger) Test(
	ctx context.Context,
	// +defaultPath="/"
	source *dagger.Directory,
) (string, error) {
	return m.BuildEnv(source).
		WithExec([]string{"npm", "run", "test:unit", "run"}).
		Stdout(ctx)
}

// Build a ready-to-use development environment
func (m *HelloDagger) BuildEnv(
	// +defaultPath="/"
	source *dagger.Directory,
) *dagger.Container {
	nodeCache := dag.CacheVolume("node")
	return dag.Container().
		From("node:21-slim").
		WithDirectory("/src", source).
		WithMountedCache("/root/.npm", nodeCache).
		WithWorkdir("/src").
		WithExec([]string{"npm", "install"})
}
Replace the generated .dagger/src/hello_dagger/main.py file with the following code, which adds four Dagger Functions to your Dagger module:
import random
from typing import Annotated

import dagger
from dagger import DefaultPath, Doc, dag, function, object_type


@object_type
class HelloDagger:
    @function
    async def publish(
        self,
        source: Annotated[
            dagger.Directory, DefaultPath("/"), Doc("hello-dagger source directory")
        ],
    ) -> str:
        """Publish the application container after building and testing it on-the-fly"""
        await self.test(source)
        return await self.build(source).publish(
            f"ttl.sh/hello-dagger-{random.randrange(10**8)}"
        )

    @function
    def build(
        self,
        source: Annotated[
            dagger.Directory, DefaultPath("/"), Doc("hello-dagger source directory")
        ],
    ) -> dagger.Container:
        """Build the application container"""
        build = (
            self.build_env(source)
            .with_exec(["npm", "run", "build"])
            .directory("./dist")
        )
        return (
            dag.container()
            .from_("nginx:1.25-alpine")
            .with_directory("/usr/share/nginx/html", build)
            .with_exposed_port(80)
        )

    @function
    async def test(
        self,
        source: Annotated[
            dagger.Directory, DefaultPath("/"), Doc("hello-dagger source directory")
        ],
    ) -> str:
        """Return the result of running unit tests"""
        return await (
            self.build_env(source)
            .with_exec(["npm", "run", "test:unit", "run"])
            .stdout()
        )

    @function
    def build_env(
        self,
        source: Annotated[
            dagger.Directory, DefaultPath("/"), Doc("hello-dagger source directory")
        ],
    ) -> dagger.Container:
        """Build a ready-to-use development environment"""
        node_cache = dag.cache_volume("node")
        return (
            dag.container()
            .from_("node:21-slim")
            .with_directory("/src", source)
            .with_mounted_cache("/root/.npm", node_cache)
            .with_workdir("/src")
            .with_exec(["npm", "install"])
        )
Replace the generated .dagger/src/index.ts file with the following code, which adds four Dagger Functions to your Dagger module:
import {
  dag,
  Container,
  Directory,
  object,
  func,
  argument,
} from "@dagger.io/dagger"

@object()
export class HelloDagger {
  /**
   * Publish the application container after building and testing it on-the-fly
   */
  @func()
  async publish(
    @argument({ defaultPath: "/" }) source: Directory,
  ): Promise<string> {
    await this.test(source)
    return await this.build(source).publish(
      "ttl.sh/hello-dagger-" + Math.floor(Math.random() * 10000000),
    )
  }

  /**
   * Build the application container
   */
  @func()
  build(@argument({ defaultPath: "/" }) source: Directory): Container {
    const build = this.buildEnv(source)
      .withExec(["npm", "run", "build"])
      .directory("./dist")
    return dag
      .container()
      .from("nginx:1.25-alpine")
      .withDirectory("/usr/share/nginx/html", build)
      .withExposedPort(80)
  }

  /**
   * Return the result of running unit tests
   */
  @func()
  async test(
    @argument({ defaultPath: "/" }) source: Directory,
  ): Promise<string> {
    return this.buildEnv(source)
      .withExec(["npm", "run", "test:unit", "run"])
      .stdout()
  }

  /**
   * Build a ready-to-use development environment
   */
  @func()
  buildEnv(@argument({ defaultPath: "/" }) source: Directory): Container {
    const nodeCache = dag.cacheVolume("node")
    return dag
      .container()
      .from("node:21-slim")
      .withDirectory("/src", source)
      .withMountedCache("/root/.npm", nodeCache)
      .withWorkdir("/src")
      .withExec(["npm", "install"])
  }
}
Replace the generated .dagger/src/HelloDagger.php file with the following code, which adds four Dagger Functions to your Dagger module:
<?php

declare(strict_types=1);

namespace DaggerModule;

use Dagger\Attribute\DaggerFunction;
use Dagger\Attribute\DaggerObject;
use Dagger\Attribute\DefaultPath;
use Dagger\Attribute\Doc;
use Dagger\Container;
use Dagger\Directory;

use function Dagger\dag;

#[DaggerObject]
class HelloDagger
{
    #[DaggerFunction]
    #[Doc('Publish the application container after building and testing it on-the-fly')]
    public function publish(
      #[DefaultPath('/')]
      Directory $source,
    ): string {
        $this->test($source);

        return $this
            ->build($source)
            ->publish('ttl.sh/hello-dagger-' . rand(0, 10000000));
    }

    #[DaggerFunction]
    #[Doc('Build the application container')]
    public function build(
      #[DefaultPath('/')]
      Directory $source,
    ): Container {
        $build = $this
            ->buildEnv($source)
            ->withExec(['npm', 'run', 'build'])
            ->directory('./dist');

        return dag()
            ->container()
            ->from('nginx:1.25-alpine')
            ->withDirectory('/usr/share/nginx/html', $build)
            ->withExposedPort(80);
    }

    #[DaggerFunction]
    #[Doc('Return the result of running unit tests')]
    public function test(
      #[DefaultPath('/')]
      Directory $source,
    ): string {
        return $this
            ->buildEnv($source)
            ->withExec(['npm', 'run', 'test:unit', 'run'])
            ->stdout();
    }

    #[DaggerFunction]
    #[Doc('Build a ready-to-use development environment')]
    public function buildEnv(
      #[DefaultPath('/')]
      Directory $source,
    ): Container {
        $nodeCache = dag()
            ->cacheVolume('node');

        return dag()
            ->container()
            ->from('node:21-slim')
            ->withDirectory('/src', $source)
            ->withMountedCache('/root/.npm', $nodeCache)
            ->withWorkdir('/src')
            ->withExec(['npm', 'install']);
    }
}
Replace the generated .dagger/src/main/java/io/dagger/modules/hellodagger/HelloDagger.java file with the following code, which adds four Dagger Functions to your Dagger module:
package io.dagger.modules.hellodagger;

import static io.dagger.client.Dagger.dag;

import io.dagger.client.Container;
import io.dagger.client.exception.DaggerQueryException;
import io.dagger.client.Directory;
import io.dagger.client.CacheVolume;
import io.dagger.module.annotation.DefaultPath;
import io.dagger.module.annotation.Function;
import io.dagger.module.annotation.Object;
import java.util.List;
import java.util.concurrent.ExecutionException;

/** HelloDagger main object */
@Object
public class HelloDagger {
  /** Publish the application container after building and testing it on-the-fly */
  @Function
  public String publish(@DefaultPath("/") Directory source)
      throws InterruptedException, ExecutionException, DaggerQueryException {
    this.test(source);
    return this.build(source).
        publish("ttl.sh/hello-dagger-%d".formatted((int) (Math.random() * 10000000)));
  }

  /** Build the application container */
  @Function
  public Container build(@DefaultPath("/") Directory source)
      throws InterruptedException, ExecutionException, DaggerQueryException {
    Directory build = this
        .buildEnv(source)
        .withExec(List.of("npm", "run", "build"))
        .directory("./dist");
    return dag().container()
        .from("nginx:1.25-alpine")
        .withDirectory("/usr/share/nginx/html", build)
        .withExposedPort(80);
  }

  /** Return the result of running unit tests */
  @Function
  public String test(@DefaultPath("/") Directory source)
      throws InterruptedException, ExecutionException, DaggerQueryException {
    return this
        .buildEnv(source)
        .withExec(List.of("npm", "run", "test:unit", "run"))
        .stdout();
  }

  /** Build a ready-to-use development environment */
  @Function
  public Container buildEnv(@DefaultPath("/") Directory source)
      throws InterruptedException, ExecutionException, DaggerQueryException {
    CacheVolume nodeCache = dag().cacheVolume("node");
    return dag().container()
        .from("node:21-slim")
        .withDirectory("/src", source)
        .withMountedCache("/root/.npm", nodeCache)
        .withWorkdir("/src")
        .withExec(List.of("npm", "install"));
  }
}
In this Dagger module, each Dagger Function performs a different operation:
- The
publishDagger Function tests, builds and publishes a container image of the application to a registry. - The
testDagger Function runs the application's unit tests and returns the results. - The
buildDagger Function performs a multi-stage build and returns a final container image with the production-ready application and an NGINX Web server to host and serve it. - The
build-envDagger Function creates a container with the build environment for the application.
Run the workflow
Dagger Shell is the fastest way to interact with the Dagger API, allowing access to both types and Dagger Functions using a familiar Bash-like syntax. Type dagger to launch Dagger Shell in interactive mode.
publish
This single command runs the application's tests, then builds and publishes it as a container image to the ttl.sh container registry. Here's what you should see:
You can test the published container image by pulling and running it with docker run:
If you signed up for Dagger Cloud, the output of the previous command would have also included a link to visualize the workflow run on Dagger Cloud. Click the link in your browser to see a complete breakdown of the steps performed. Here's what you should see:
Interact with the build environment
The build-env Dagger Function returns a Container type representing the application's build environment. One of the most interesting built-in functions of this type is terminal, which can be used to open an interactive terminal session with the running container.
To try this, chain an additional function call to terminal on the returned Container:
build-env | terminal --cmd=bash
This command builds the container image and then drops you into an interactive terminal running the bash shell. You can now directly execute commands in the running container, as shown below:
Run a container as a local service
The build Dagger Function returns a Container type representing the built container image. Another interesting built-in function to explore here is the as-service function, which can be used to start a container as a local service and have any exposed ports forwarded to the host machine. This is similar to Docker Compose, except that you're using code instead of YAML to manage your services.
To try this, use the function chain below:
build | as-service | up --ports=8080:80
By default, Dagger will map each exposed container service port to the same port on the host. Since NGINX operates on port 80, which is often a privileged port on the host, the additional --ports 8080:80 argument re-maps container port 80 to unprivileged host port 8080.
You should now be able to access the application by browsing to http://localhost:8080 on the Dagger host (replace localhost with your Dagger host's network name or IP address if accessing it remotely). You should see a "Hello from Dagger!" welcome page, served by NGINX.
Validate your workflow with checks
Now that you've built a workflow, it's important to validate that your code meets quality standards before committing. Dagger provides a built-in mechanism for this through checks.
Checks are special Dagger Functions that validate commits—they run without required arguments, making them perfect for automated validation at any stage: locally before pushing, on every commit in CI, or on merge to main.
Create a check
Let's add a simple check to validate that our application builds successfully. Create a new function that runs the build and returns an error if it fails:
- Go
- Python
- TypeScript
// Validate that the application builds successfully
// +check
func (m *HelloDagger) ValidateBuild(
    ctx context.Context,
    // +optional
    // +defaultPath="/"
    // +ignore=[".git", "node_modules"]
    source *dagger.Directory,
) error {
    _, err := m.Build(source).Sync(ctx)
    return err
}
@function
@check
async def validate_build(
    self,
    source: Annotated[
        dagger.Directory,
        DefaultPath("/"),
        Ignore([".git", "node_modules"]),
    ] = None,
) -> None:
    """Validate that the application builds successfully"""
    await self.build(source).sync()
/**
 * Validate that the application builds successfully
 */
@func()
@check()
async validateBuild(
  @argument({ defaultPath: "/", ignore: [".git", "node_modules"] })
  source?: Directory,
): Promise<void> {
  await this.build(source).sync()
}
Note how this check:
- Has no required arguments (source has defaults, making it optional)
- Returns an error type (or void/None) not a Container
- Calls the existing
build()function and validates it succeeds
Run checks
Now you can validate your workflow by running all checks:
dagger check
This command automatically discovers and runs all functions marked as checks in parallel. If the build succeeds, the check passes. If it fails, you'll get immediate feedback before committing.
You can also list available checks:
dagger check -l
Checks integrate seamlessly into your development workflow:
- Locally: Run
dagger checkbefore pushing to catch issues early - CI: Add
dagger checkto your CI pipeline as a quality gate - Pre-commit hooks: Configure checks to run automatically on commit
Learn more about creating advanced checks, filtering, and ignoring checks in the Checks guide.
Next steps
Congratulations! You've created your first CI workflow with Dagger.
Now you have the tools to successfully take the next step: adopting Dagger in your project.
The guide Use a Toolchain will show you how to use a toolchain instead of writing code for every single project.
The next guide Build an AI Agent will show you how to add agentic capabilities to your newly Daggerized project.
In the meantime, we encourage you to join our awesome community on Discord to introduce yourself and ask questions. And starring our GitHub repository is always appreciated!